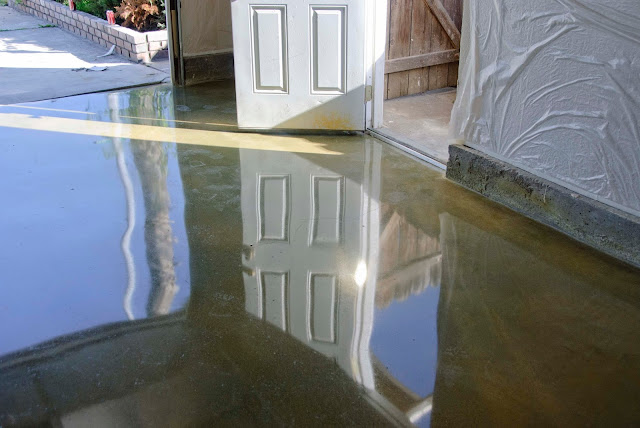
DIY: How to Polish Concrete Floors
Things You'll Need
- Upright, walk behind grinder
- 30, 80, and 150 metal-bonded diamond grit discs
- 100 to 3000 grit resin-bonded discs
- Safety glasses
- Ear plugs
- Dust mask
- Cement epoxy or hard drying filler
- Cement hardener
Rent a grinder from a hardware store. An upright, walk behind grinder is the easiest to use. Concrete grinders come in two types, wet and dry. They dry method uses a vacuum to suck the dust and keep the air clear. A wet grinder uses water to keep the dust from contaminating the air, but it makes more of a mess.
Buy a set of diamond abrasive discs to fit the grinder. The discs come in grit levels of 16 to 3,000, the higher the grit number, the finer the abrasive. Start with a coarse grit to level out the flooring and work your way to the finest grit disc to finish the polish.
Wear appropriate safety equipment. Safety glasses, dust mask and ear plugs should all be worn to prevent injuries to lungs, eyes or ears.
Remove any coating from the floor with a coarse grit abrasive. This will clean residue and smooth out the floor for the polishing segment.
Fill cracks or dents with cement epoxy. You can use other hard-drying filler recommended by cement flooring professionals. Level the fill to the floor to lessen the need for coarser grinding.
Start grinding the floor from one corner, working your way slowly across the entire floor. Use a 30 grit metal-bonded abrasive to start and continue with 80 metal-bonded grit. Finish the grinding process with 150 metal-bonded grit.
Apply a chemical concrete hardener to the floor. This will aid in establishing the high gloss look to your finished floor.
Polish the concrete floor with resin-bonded diamond abrasive using 100 grit, continuing the process using 400 resin-bonded grit then 800 resin-bonded grit, until you get the desired shine. You can use up to 3,000 resin-bonded grit.


Comments
Post a Comment